Guides
How to wash baby bottles
Washing happens after every single feed. Sterilizing mostly does not. Most parents have those two the wrong way round, and the wash is the one that matters more.
How this page is funded: if you buy through a link here we may earn an Amazon commission, at no extra cost to you. It never changes which product we put first, and we recommend the cheaper option whenever it is the better one. Full disclosure.
The short answer
Wash bottles after every use: take every part off, rinse under running water, then wash in hot soapy water in a wash basin kept just for feeding items rather than directly in the sink, brush the bottle and the nipple, rinse again, and air dry upright and uncovered on a clean surface. Do not rub parts dry with a dish towel. A dishwasher does all of this for you, and if the cycle uses hot water and a heated drying or sanitizing setting, it covers sanitizing too — so no separate sterilizing step is needed at all.
Washing is not sterilizing, and washing is the required one
This is the thing worth getting straight before anything else. Per CDC guidance on cleaning, sanitizing and storing infant feeding items, feeding items must be cleaned after every use. Sanitizing is an extra step on top, and it matters daily only if your baby is less than two months old, was born prematurely, or has a weakened immune system. For an older, healthy baby, careful cleaning after each use is the requirement and daily sanitizing may not be necessary at all.
Which is the opposite of how most people shop for this. Parents buy a sterilizer and then wonder whether to bother washing first; the honest order is wash properly every time, and sanitize when the CDC says it matters. We argue the purchase side of this in do I need a bottle sterilizer, how often to sterilize bottles and when to stop sterilizing baby bottles. The sterilizing method itself is how to sterilize baby bottles.
Washing by hand, step by step
| Step | What to do | Why it matters |
|---|---|---|
| 1. Wash your hands | Soap and water for 20 seconds before you touch any part | You are about to handle the inside of everything |
| 2. Take it apart | Separate bottle, nipple, collar, cap and any vent insert | Milk hides in joins. An assembled bottle does not get clean |
| 3. Rinse | Under running water, cool or warm, before anything else | Gets the bulk of the milk off while it is still liquid |
| 4. Wash in a dedicated basin | A clean wash basin reserved for feeding items, not the kitchen sink, with hot soapy water | Sinks and drains hold germs the CDC specifically warns about |
| 5. Brush | A bottle brush for the body, a small nipple brush through the hole; squeeze water through the nipple | The nipple hole is the one spot a brush cannot reach by pressure alone |
| 6. Rinse again | Fresh running water, or fresh water in a clean basin | Soap residue causes its own upset stomachs |
| 7. Air dry, upright and uncovered | On a clean, unused dish towel or drying rack. Do not rub dry with a tea towel | A towel re-contaminates what you just cleaned; dry is what stops growth |
| 8. Store dry and covered | Assemble only when fully dry, then store in a clean, dry place | Assembling damp traps moisture inside the bottle |
Two steps in that list are the ones people skip, and both come straight from the CDC. The first is the wash basin: washing feeding items directly in the sink is discouraged because sinks and drains carry germs, so a plastic basin used only for bottles is a genuinely worthwhile two-dollar purchase. The second is air drying: do not towel-dry bottle parts, because a dish towel puts back what you just removed. Stand them upright on a clean, unused towel or a rack and leave them.
Washing in a dishwasher
Easier and, in one respect, better. Take everything apart, rinse the parts first, then put small items — nipples, collars, caps, vent inserts — in a closed-top basket or mesh bag so they do not end up in the filter. Run a cycle with hot water. If your machine has a heated drying or sanitizing setting, use it: per the CDC that cycle sanitizes as well as cleans, which means you can stop thinking about a separate sterilizer entirely.
Check your bottles are dishwasher safe and where they go. Most are top rack only, and plenty of silicone and soft parts are exceptions — the maker's instruction wins over any general rule. Take items out as soon as the cycle is done, and if anything is still damp, let it air dry rather than assembling it. The dishwasher-versus-sterilizer argument in full is bottle sterilizer vs dishwasher.
When a machine is worth it
If you have no dishwasher and you are running eight or more bottles a day, or you are exclusively pumping and washing pump parts several times daily, a bottle washer stops being an indulgence. The Grownsy EaseClean Bottle Washer Pro is the value pick: it washes, steam sterilizes and dries, takes eight bottles plus cups and pump parts, and its interior pieces detach so awkward pump parts actually fit. Our head-to-head is Baby Brezza vs Grownsy, and the full field is the best bottle washers.
For two or three bottles a day with a dishwasher in the house, buy neither. A brush, a basin and a rack is the correct answer and it costs almost nothing.
Washing bottles away from home
Hotel rooms, flights, long days out and relatives' kitchens are where the routine breaks down, and the fix is low-tech. Rinse immediately so milk does not dry on — that single step does most of the work. Carry a small folding bottle brush and a travel-size bottle of dish soap. Wash in a basin or a clean sink with hot water from the tap, and if the water supply is one you would not drink, use bottled or boiled water for the final rinse.
If you want a sanitizing option in a bag, Medela Quick Clean micro-steam bags do one pump set or a few bottle parts in any microwave and are reusable for a set number of cycles, which makes them the obvious travel choice. A Munchkin Steam Guard microwave sterilizer does around four bottles for very little money if you have counter space in a rental. Neither replaces the wash — both are the step after it. Travelling with the milk itself is a separate problem: how to travel with breast milk.
Pump parts follow a different page, but the same principle
If you pump, the parts that touch milk get cleaned after every session too, and the CDC has separate breast pump hygiene guidance for them — including the instruction to discard tubing immediately if milk or mold gets inside it, because tubing cannot be cleaned properly. Our method page is how to clean breast pump parts, and the wear-and-replacement schedule is how often to replace breast pump parts.
Washing bottles for the first time, before you use them
New bottles get washed before first use — they have been handled, boxed and shipped. Take everything apart, wash as above, and then, if your baby is under two months, was born prematurely, or has a weakened immune system, sanitize as well before the first feed. That is the one case where sanitizing new items is clearly worth doing rather than optional. What you need in total, and how many of each, is in how many bottles do I need and what do I need for bottle feeding.
Worth saying plainly
Clean every part that touches milk after every use, and sanitize per CDC guidance — daily sanitizing matters most for babies under two months, babies born prematurely, and babies with a weakened immune system. Do not wash feeding items directly in the sink; use a basin kept for that purpose. Air dry rather than towel drying, and store items fully dry. Only microwave or dishwash items the manufacturer states are safe for it. Replace any nipple that is thinning, sticky, swollen, torn or streaming — when to replace baby bottles and nipples. Discard pump tubing immediately if milk or mold gets inside it, per CDC pump hygiene guidance. We are not clinicians and nothing here is medical advice.
Where this comes from
Every step of the hand-washing routine, the wash-basin instruction, the air-drying instruction, the dishwasher sanitizing rule and the under-two-months sanitizing rule are from the CDC's guidance on cleaning, sanitizing and storing infant feeding items, with pump-specific rules from its breast pump hygiene guidance, both checked on 10 October 2026. Machine capability claims come from the makers' published specifications — including Grownsy's EaseClean Bottle Washer Pro — and from the independent testing in Mommyhood101's washer and sterilizer tests.
What we would buy
Now that the decision is made, these are the products we would actually put in the basket, and why.
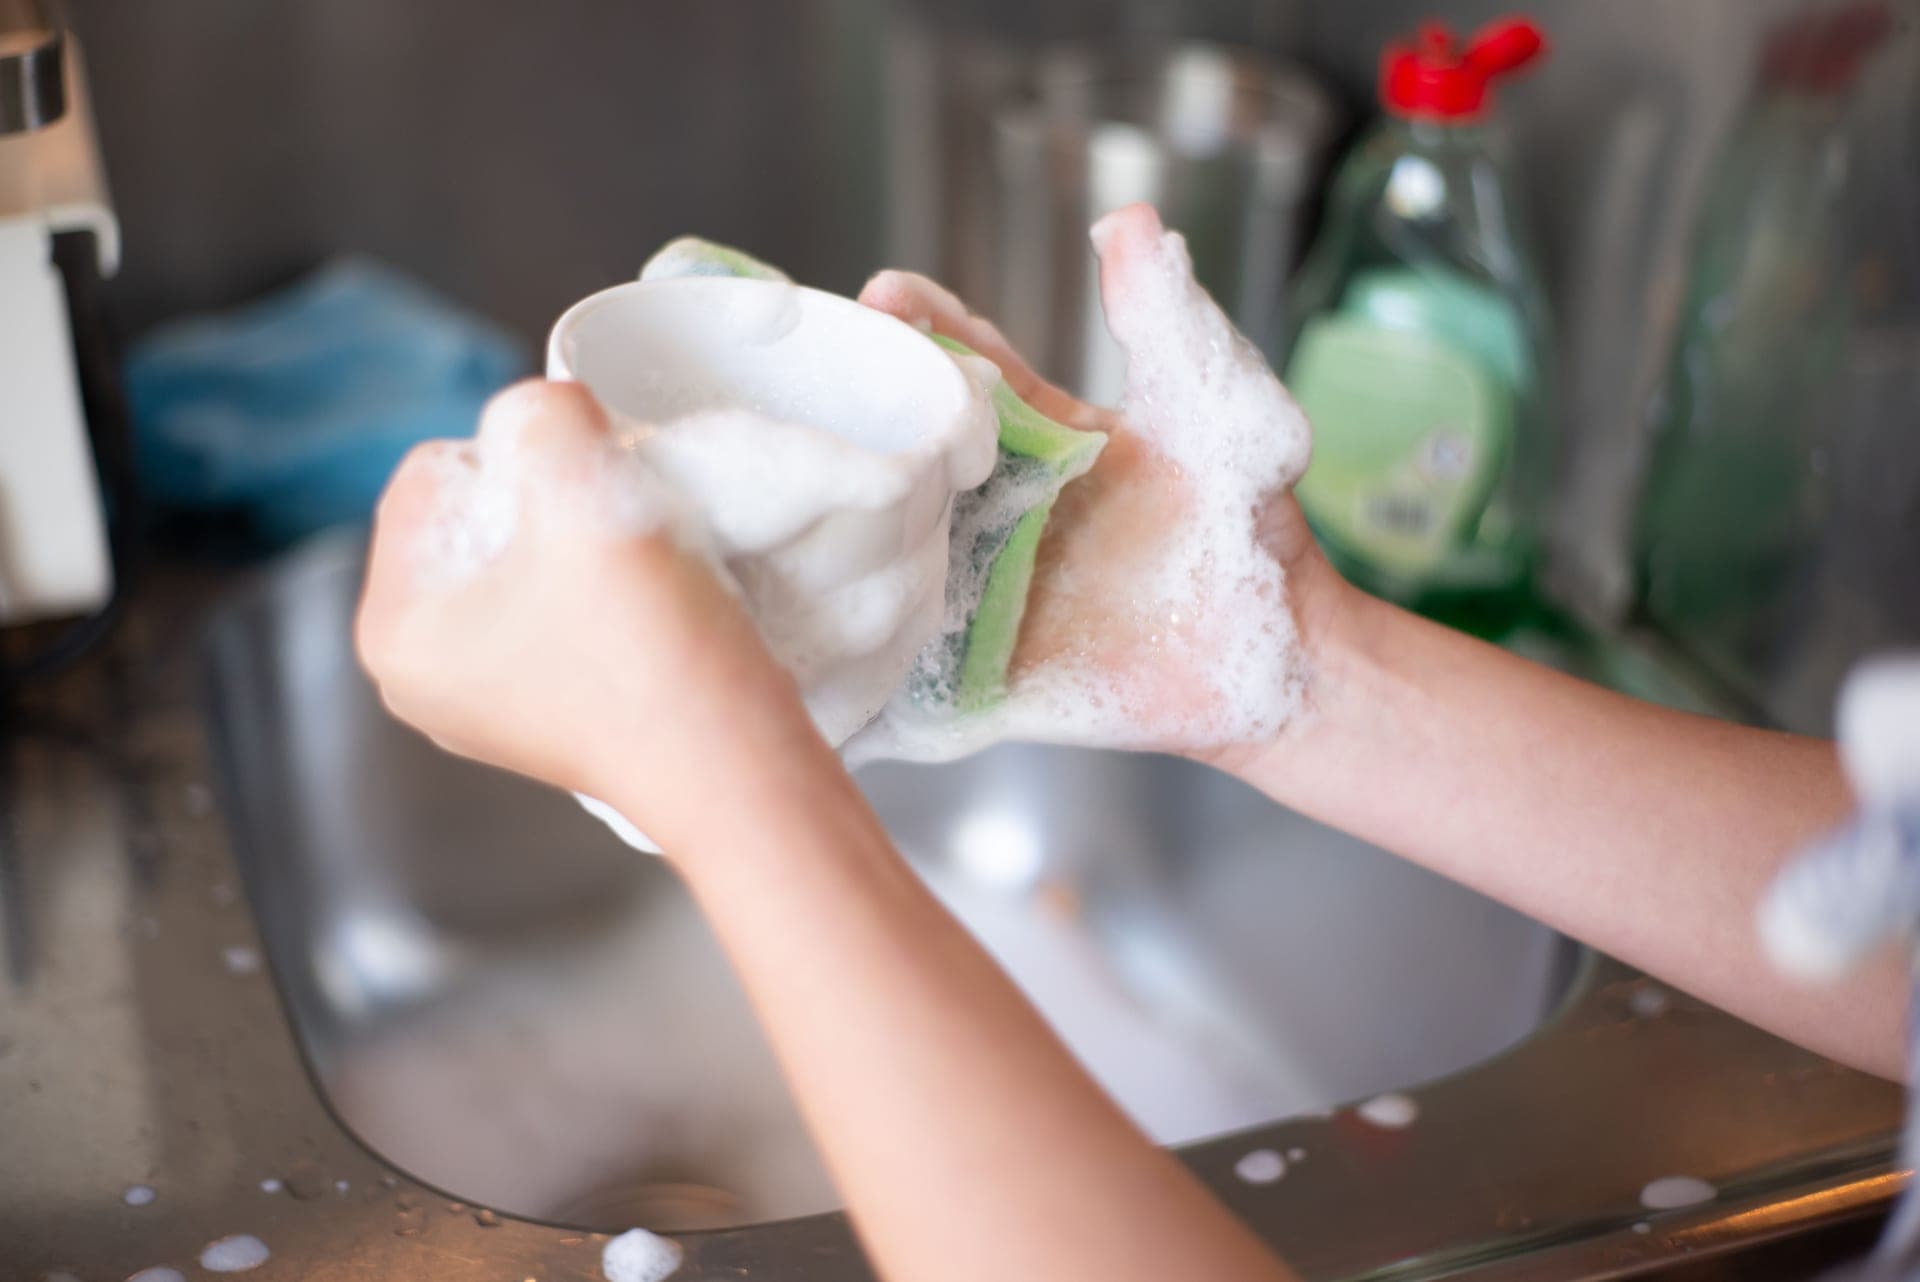
Photo for illustration, not a photograph of our own unit.
Grownsy EaseClean Bottle Washer Pro
Grownsy
The value entry in a category with almost no value entries: it washes, steam sterilizes, dries and then holds everything sterile until you need it.
- Speed
- 7
- Evenness
- 9
- Capacity
- 9
- Ease of use
- 8
- Value
- 9
- Method:
- Wash, steam sterilize, dry
- Capacity:
- Eight bottles, plus cups and pump parts
- Full cycle:
- A little over an hour, per the maker
- Price tier:
- Mid-range
What works
- Removable interior pieces, so awkward pump parts actually fit
- Sterile-storage mode keeps clean parts inside for days
- Detergent and descaling tablets are supplied
What to know first
- A full cycle takes over an hour, so it is not a rescue for one urgent bottle
- Large on a counter even though it is not the largest here
- Needs its own detergent, which is an ongoing cost
#ad Affiliate link · We show no price until we can verify it live
Photo for illustration, not a photograph of our own unit.
Medela Quick Clean Micro-Steam Bags
Medela
Reusable microwave steam bags that pack flat. The answer to sterilizing pump parts in an office kitchen.
- Speed
- 9
- Evenness
- 7
- Capacity
- 4
- Ease of use
- 8
- Value
- 9
- Method:
- Microwave steam in a reusable bag
- Capacity:
- One pump set, or a few bottle parts
- Extras:
- Reusable for a set number of cycles
- Price tier:
- Budget
What works
- Packs flat in a work bag or suitcase
- Very fast
- Cheap to replace
What to know first
- Limited number of uses per bag
- Small capacity
- Still needs a microwave
#ad Affiliate link · We show no price until we can verify it live
Photo for illustration, not a photograph of our own unit.
Munchkin Steam Guard Microwave Sterilizer
Munchkin
A plastic box, a splash of water and your microwave. It sterilizes properly and costs a fraction of an electric unit, so start here.
- Speed
- 9
- Evenness
- 8
- Capacity
- 6
- Ease of use
- 7
- Value
- 10
- Method:
- Microwave steam
- Capacity:
- Around four bottles
- Extras:
- None
- Price tier:
- Budget
What works
- Cheapest real sterilizing method after a pan of boiling water
- No counter space used between cycles
- Fast, at a couple of minutes per load
What to know first
- No drying, so parts come out wet
- You need a microwave big enough
- Hot and heavy to lift out
#ad Affiliate link · We show no price until we can verify it live
Common questions
How do you wash baby bottles?
Take every part off, rinse under running water, wash in hot soapy water in a basin kept just for feeding items, brush the bottle and the nipple, rinse again, then air dry upright and uncovered on a clean surface. Do not towel dry. Assemble only once everything is completely dry.
Can you wash baby bottles in the dishwasher?
Yes, if they are dishwasher safe — most are top rack only. Put nipples, collars and small parts in a closed-top basket, and run a hot cycle. Per CDC guidance, a cycle with hot water and a heated drying or sanitizing setting sanitizes as well, so no separate sterilizing step is needed.
Do you need to sterilize bottles every time you wash them?
No. Cleaning is required after every use; sanitizing is an extra step that matters daily only if your baby is under two months old, was born prematurely, or has a weakened immune system. For an older, healthy baby, careful cleaning after each use is the requirement — how often to sterilize bottles.
Can you wash baby bottles in the sink?
The CDC advises against washing feeding items directly in the sink, because sinks and drains can carry germs. Use a clean wash basin reserved for bottles and pump parts instead. It is a cheap purchase that removes a real risk.
How do you wash baby bottles while travelling?
Rinse immediately so milk does not dry on, then wash in a basin or clean sink with hot tap water using a folding bottle brush and travel-size dish soap. Use bottled or boiled water for the final rinse if the local supply is one you would not drink. Micro-steam bags give you a sanitizing option in any microwave.
Should you wash new baby bottles before the first use?
Yes — they have been handled, boxed and shipped. Wash all the parts, and if your baby is under two months, was born prematurely, or has a weakened immune system, sanitize before the first feed as well.
Is a bottle washer worth buying?
Only at volume. With a dishwasher and two or three bottles a day, a brush, a basin and a rack is the right answer. With no dishwasher, eight or more bottles a day, or daily pump parts, a washer earns its counter space — the best bottle washers.